
This year I opted for the work-intensive option of growing my own annuals: marigolds, salvia, nasturtiums and cosmos. On the up side, I ended up with plenty of bedding plants, which is good news for the bees and butterflies … and the slugs have enjoyed them too! On the other hand, it involved a lot of extra effort.
For the most part, I bought the seeds fresh this year; all except the marigold seeds, which I collected from last year’s plants and stored over winter. Some seeds require special treatment before sowing (e.g. scratching the seed coat, or freezing to break dormancy), but most annuals can be scattered thinly, covered in a fine layer of compost, kept moist and left to get on with things.
Sowing seeds
And that’s what I did. In May, I scattered my seeds fairly haphazardly in seed trays full of ‘seed and potting’ compost, sprinkled a little compost over the top of them, labelled them and left them in the conservatory area of my kitchen to germinate.
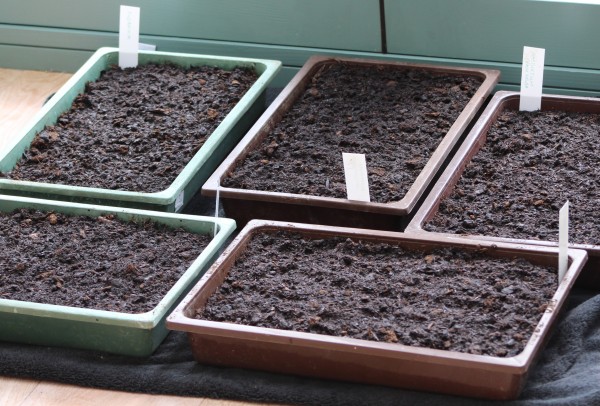
The easy bit … seed trays full of seed doing its thing
That was the easy bit! Germination was phenomenally successful – first two ‘seed leaves’ for each plant, swiftly followed by several ‘true leaves’. The seedlings were ready to prick out a couple of weeks after the true leaves appeared and a decent root system had been put down.
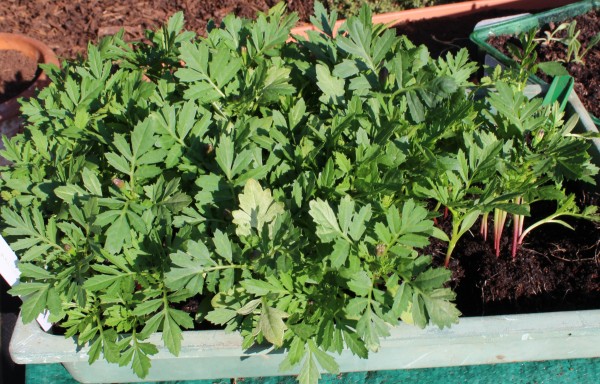
An abundance of marigold seedlings ready for pricking out
Pricking out
Pricking out is, without a doubt, my least favourite gardening job. It is sooooo time consuming. I am not a patient person, so the process of teasing out each individual seedling and its roots, carefully lifting each individual plant from its neighbours – being careful to hold onto the leaves, not the stem! – then replanting each seedling in a module or small pot, firming it in with more compost, and of course watering it in, is something I find quite tortuous.
Yet somehow I got through it, filling countless modules and pots with fragile seedlings.

Planting seedlings into modules …

… and pots

… and more pots!
Growing on
Then I waited. While a watched kettle never boils, a watched marigold does seem to shoot up pretty quickly. I kept the seedlings well watered and warm, and within a month I had lots of lovely bedding plants ready to plant out.
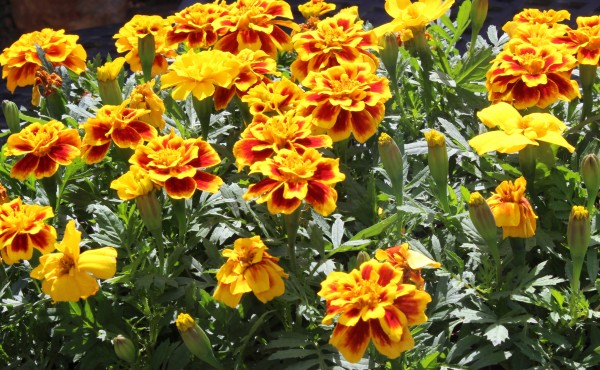
Blooming marigolds, ready to plant out
In fact, I’m still planting them out now, plugging the last few gaps at the front of my borders.

Marigolds in situ, adding a much-needed splash of summer colour throughout the garden
So was it worth it? Hmmm … probably!

A ringlet on one of my homegrown marigolds
If you use cardboard egg boxes as the first tiny pots you can just pot on the whole thing next time – no fiddling to remove it from the pot.