Protecting plants in winter

Although it’s bitterly cold, and forecast to get colder (–5oC or lower overnight), at least it has stopped raining and my lawn and borders are no longer squelching under foot. So, I’ve embraced the cold dry weather to get a few garden essentials done.

Getting out in the garden, even for just a few minutes at a time, has lifted my spirits immensely … although sometimes I’ve not been able to feel my fingers or toes (brrr!).

Get outside in winter
Wrap up warm and get outside. Even a few minutes in the garden can help to lift your mood.

Covering plants with fleece

My number 1 job has been to protect several half-hardy or tender plants from the looming cold snap. As a result, the garden is now dotted with ghostly misshapen humps of horticultural fleece, covering pots of African daisies (osteospermums) and blanket flowers (Galliardia).

Cover plants with horticultural fleece to protect them from frost
Cover tender plants with horticultural fleece to protect them from frost

Meanwhile, my husband has done a fabulous job of wrapping up the tree fern. The crown is the key to future fronds, so he’s made sure that’s well protected with a ball of fleece, and he’s protected the trunk with some old carpet.

A well-wrapped tree fern

You can buy horticultural or ‘garden fleece’ in sheets or rolls, or many garden centres will trim off the amount you need from large rolls of the fabric.

It tends to be very light weight (usually 17g or 30g per square metre), so make sure you secure the fleece with twine or pegs, or anchor the edges down with large stones, so that it doesn’t blow away. Alternatively you can buy fleece ‘jackets’ with drawstrings or zips, which you can secure over individual plants.

Secure fleece from blowing away

Fleece allows light and water to pass through it, so you can leave it in place for a few days, but remove it once the threat of frost has passed, as it reduces the amount of light getting to the plant and creates a microenvironment around the plant that is ideal for pests.

Eco-friendly alternatives. It is worth noting that horticultural fleece is made of polypropylene, a single-use plastic product that can’t be recycled. When it eventually starts to shred or go into holes it will, unfortunately, become plastic waste.

I’ve been reusing mine for years. I’ve even washed it. But when the time comes to replace it I will be looking for environmentally friendly alternatives – if anyone has any recommendations I’d love to hear them!

Providing permanent cover

Of course, the ultimate eco-friendly cover is glass. So, it’s ideal if you are able to move plants to a permanent greenhouse or cold frame. I don’t have much space to move plants under cover in the winter, but I’m able to store a few plants in my little pop-up greenhouse and cold frames in a sheltered alcove between the house and garage.

I’ve draped fleece over my prized abutilon ‘Kentish Belle’, which is still flowering, and moved it to a more sheltered spot under the kitchen window.

Abutilon 'Kentish Belle' has a long flowering season
Abutilon ‘Kentish Belle’ has a long flowering season and is hardy to -5oC, but I’ve found it needs a bit of protection over winter

Natural frost protection

As for the rest of my perennials and shrubs, they will have to contend with whatever this winter throws at them. I try not to buy too many tender plants as I don’t have the time to dig them up and protect them every winter.

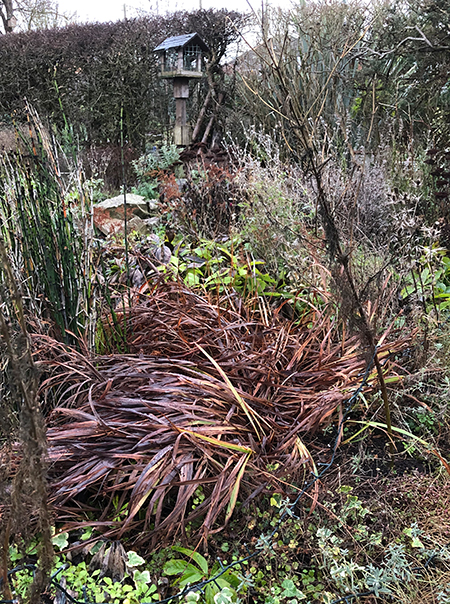
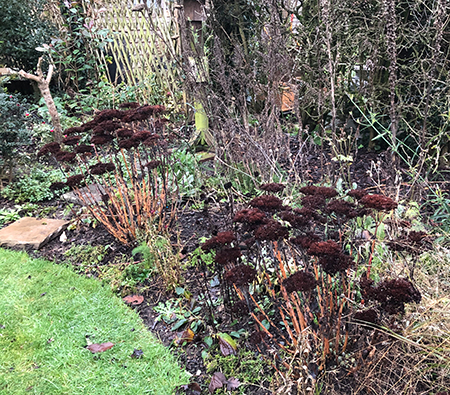
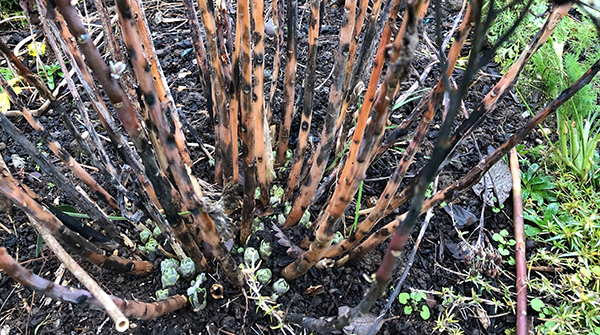
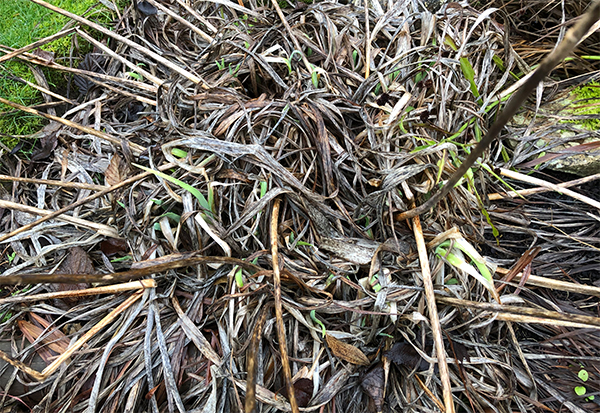
As always though, I have left as much as possible of the previous season’s growth intact to protect the plant crowns beneath. This has the added benefit of looking quite spectacular when the frost does hit.

Last season's growth provides natural frost protection
Last season’s growth provides natural frost protection

Important tidying for plant health in winter

After a week of rain it’s no surprise that the garden is a bit soggy. My lawn is squelchy and the clay-based soil in my borders is heavy and sticky. So, I’m doing my best to keep to the hard surfaces around the garden, like the paths and patio, to avoid turning lawn edges and beds into a quagmire.

But there is one task that I can’t put off, and that’s the clearance of collapsed stems and soggy foliage.

Soggy foliage in winter
The old leaves of this Crocosmia have got very soggy and collapsed.

Not too tidy

I leave most old stems and seed heads in place over the winter because they provide homes and food for wildlife, and they add structure and interest to the borders during the bleakest months.

Old stems and seed heads
Old stems and seed heads add structure and interest to winter borders

They also provide protection from frost and snow for the crown of the plant and any new growth that is emerging.

Old Sedum stems protect the crown of the plant
Old stems and seed heads protect new growth emerging from the crown in winter

Clearing soggy foliage

But collapsed stems and pulpy leaves need to be cut back and removed. Leaving wet decaying material in your borders is practically inviting fungi and diseases to move in.

The decaying wet leaves of this day lily had collapsed over the crown of the plant.

Soggy leaves of a day lily

It only took a few minutes to pull the wet leaves away.

Soggy leaves cleared from crown of plant

Future compost

And it can all be recycled. The old leaves (no matter how soggy) are great ‘brown material’ to add to the compost bin. And the old stems, which also pulled away easily, can be shredded or used as stakes when they dry.

Cleared leaves and stems
The cleared leaves and stems can be composted and shredded

It was a quick and easy task that will benefit the plant. Meanwhile, there is still plenty of ‘mess’ in the garden to keep the wildlife happy.

First-time leaf cuttings

According to those in the know, the best time to take leaf cuttings from marguerites (Argyranthemum) is mid-spring to summer … so, I’m a bit late! But seeing as there are still some decent-looking shoots on my one patio specimen I thought I’d give it a go before the first frosts hit. Here’s how I got on …

Argyranthemum leaf cutting - select a strong shoot
Select a strong shoot, and cut straight below a leaf joint
Argyranthemum leaf cutting remove lower leaves
Remove leaves from the lower third of the cutting
Argyranthemum leaf cutting - dip in rooting powder
Dip in water, then into rooting powder
Argyranthemum leaf cuttings
Plant immediately, spacing the cuttings so the leaves do not touch

The cuttings are now residing in my mini-greenhouse, so there should be enough humidity to stop the leaves drying up too quickly.

I’ve never taken leaf cuttings before, so this is a bit of an experiment for me. Please feel free to leave your comments – all constructive advice is most welcome!