How to choose the right Mahonia

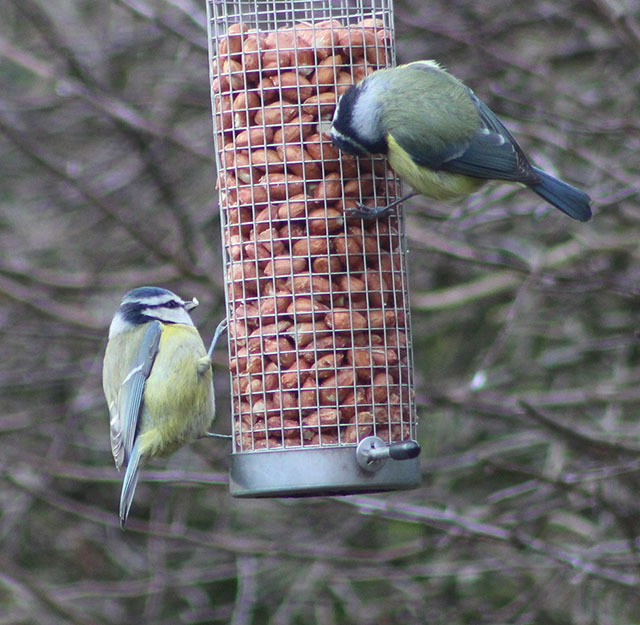
Mahonias are fantastic evergreen plants, with clusters or spikes (racemes) of scented yellow flowers that are rich in nectar and a magnet for foraging bees in winter. The different species of Mahonia come in a range of sizes to suit any garden type, and flower at different times from late autumn to early spring.

Mahonia in bud: a rich supply of nectar through the winter months
Mahonia in flower: a rich supply of nectar in December in my garden

Mahonia or Berberis?

Mahonias are members of the Barberry family (Berberidacae). However, botanists haven’t completely agreed on the nomenclature. Don’t be confused (as I was) if you see the same plant with two different names: Berberis and Mahonia. Mahonia aquifolium is also sometimes known by its common name of Oregon grape (Oregon adopted it as its official state flower in 1899) .

Best features of Mahonia

Mahonias tend to be planted for their bold architectural foliage. Most Mahonias are large shrubs with rows of glossy, deep green, spine-toothed leaves. However, there is a variety called Mahonia eurybracteata ‘Soft Caress’ that has spine-free foliage if you are looking for something softer.

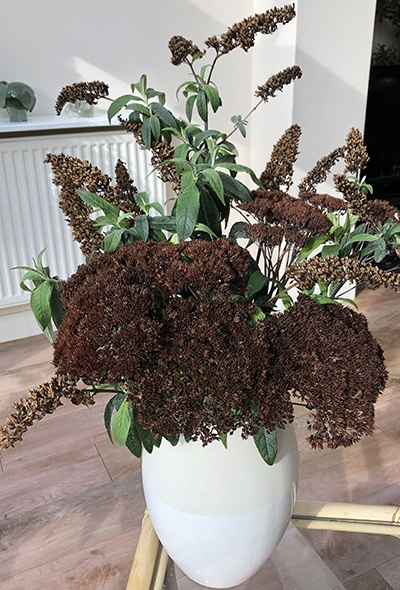
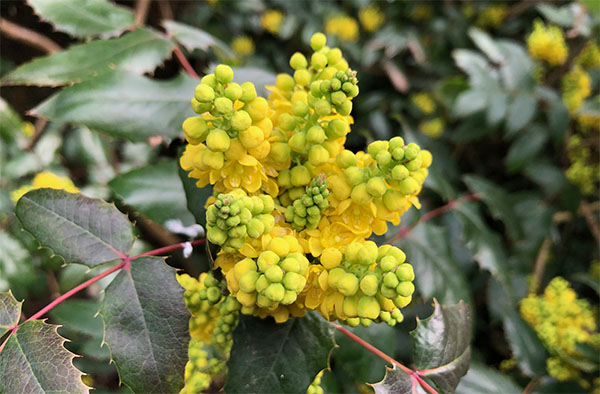
The biggest delight is the characteristic clusters of scented yellow flowers. These are followed by pretty purply-blue berries.

Mahonias tolerate all types of well-drained soil, and will thrive in sun or shade. This makes them a good choice for ‘problem’ areas of the garden. Most are fully hardy, down to –15oC.

Mahonia berries

Key factors when choosing a Mahonia

To find the right Mahonia for your garden it is worth considering both size and flowering time. Although there are about 70 species of Mahonia, a few key varieties tend to be sold by garden centres or online retailers in the UK.

Mahonia x media ‘Winter Sun’, ‘Charity’ and ‘Lionel Fortescue’ can grow to 2.5–4 metres in height, although they can taken 10–20 years to reach their ultimate size. Being large upright shrubs, these varieties are ideal as a focal point at the back of a border. Sometimes they are used as hedging. They tend to flower between late November and early January.

Mahonia japonica is smaller than the ‘Media’ varieties, but is another erect shrub that can grow to 1.5–2 metres in height. It also flowers between the end of November and March.

Mahonia japonica in a border of mixed shrubs at the bottom of my garden

Mahonia aquifolium ‘Apollo’ is a more compact variety that grows in a low spreading dome. It reaches about 1 metre in height and spreads to about 1.5 metres.

Mahonia aquifolium 'Apollo' shrub
Mahonia aquifolium ‘Apollo’

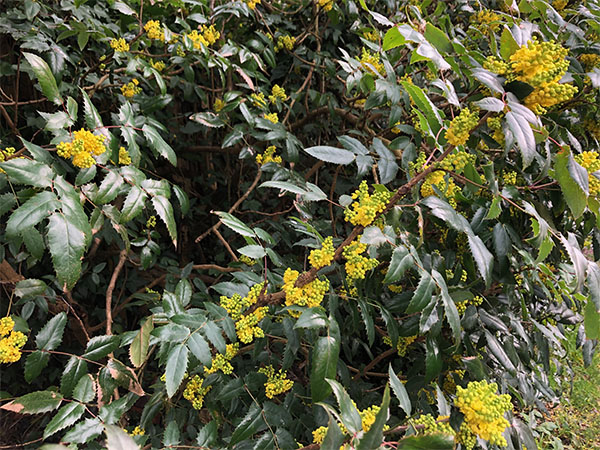
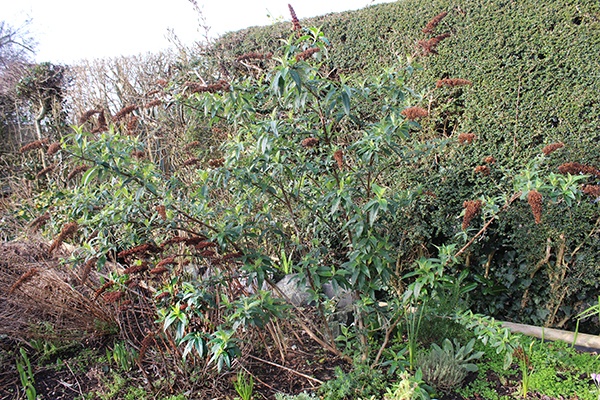
I pass this one on my daily dog walk. It has been bursting with compact clusters of intensely scented flowers all through February. It is thriving in a sheltered walkway next to a fence where it gets both sun and shade.

Highly scented flowers of Mahonia aquifolium 'Apollo'
Intensely scented flowers of Mahonia aquifolium ‘Apollo’

Mahonia repens has a low, creeping habit, with a height of 30–50cm and spread of 1 metre. It is ideal for shady ground cover, at the front of a border, or to cover a bank. This variety flowers in mid to late Spring (April/May).
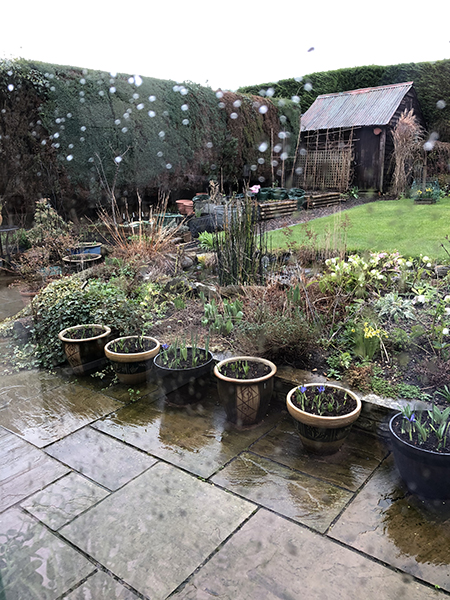
Planting Mahonia

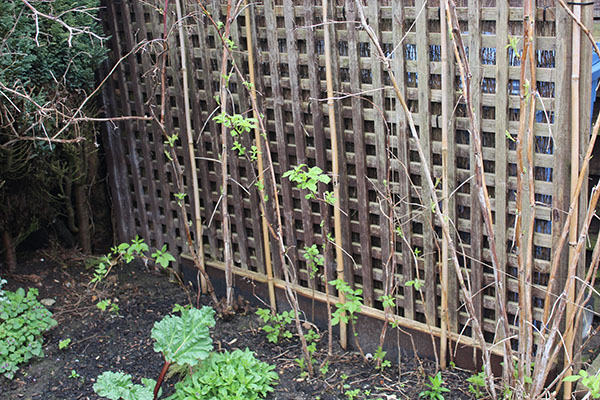
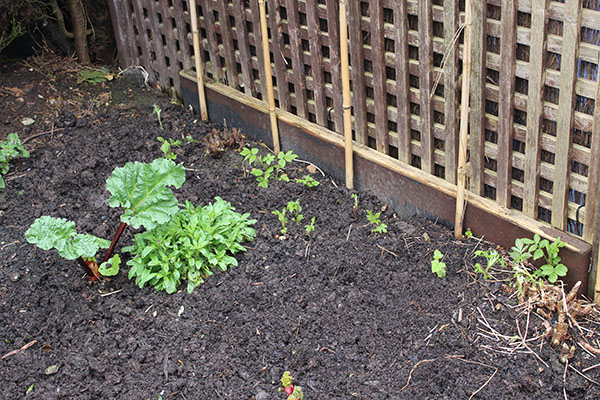
March is a good time to plant Mahonias. Make sure you choose a spot where your variety of choice has enough room to grow. I initially planted my Mahonia japonica too close to a conifer hedge and had to move it (see Mahonia on the Move). Dig a hole that is twice the size of the root ball. Plant the Mahonia with some well-rotted compost and firm it in well before giving it a good soak.

Mahonia care

Mahonias are low maintenance plants. They have low nutrient requirements, but like most shrubs will appreciate a mulch in early spring and/or autumn. This will also help to suppress weeds around the base. They can tolerate relatively dry conditions, so they only need watering in times of drought.

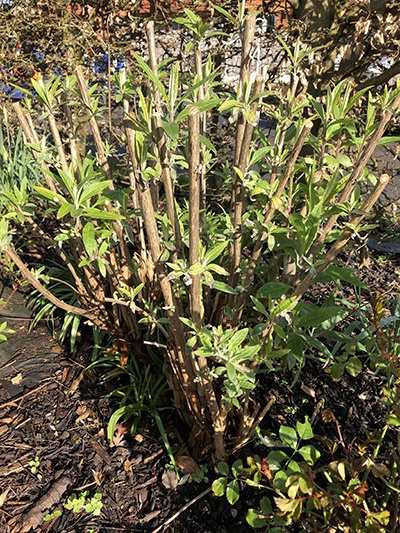
Pruning. Thankfully, pruning can be kept to a minimum, not least because the holly-like leaves can make it an uncomfortable process. In fact, you don’t need to prune a Mahonia at all unless your shrub loses its shape or gets too leggy.

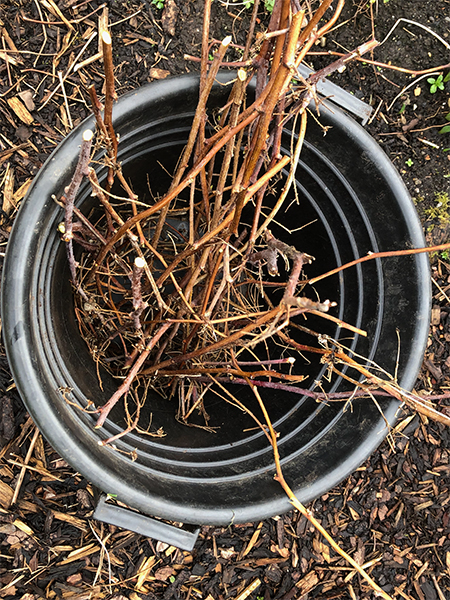
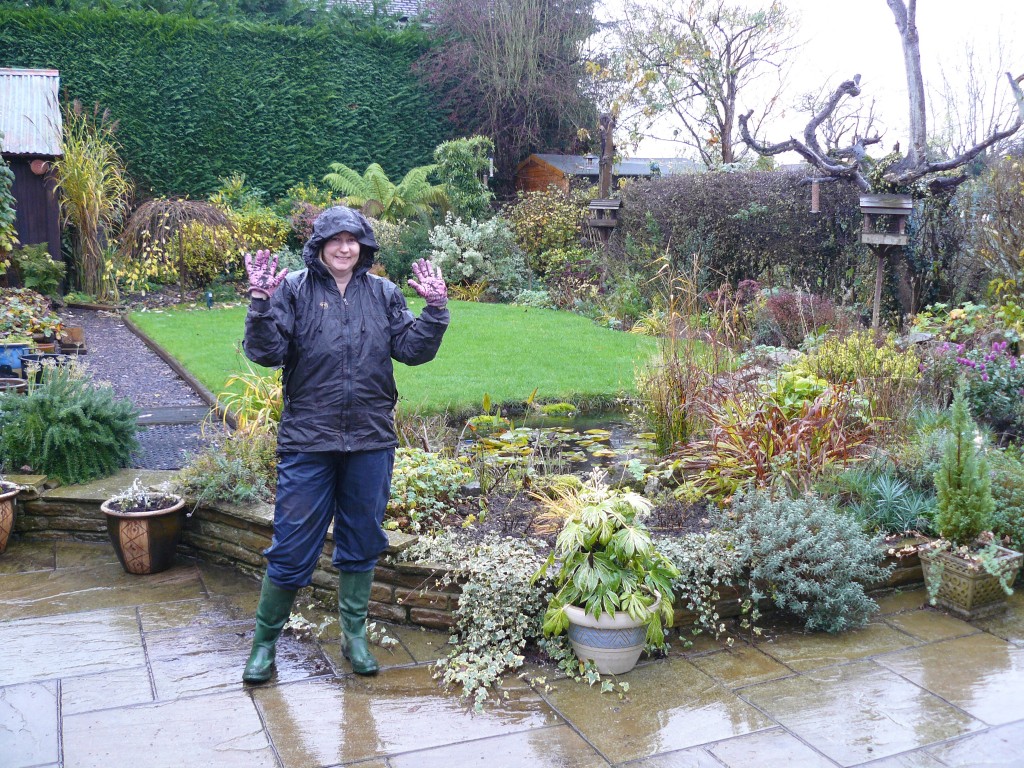
If you do need to prune, make sure you are wearing a sturdy pair of gardening gloves. After flowering, remove any dead or diseased branches, or any branches that are growing out at an awkward angle or crossing with other branches.

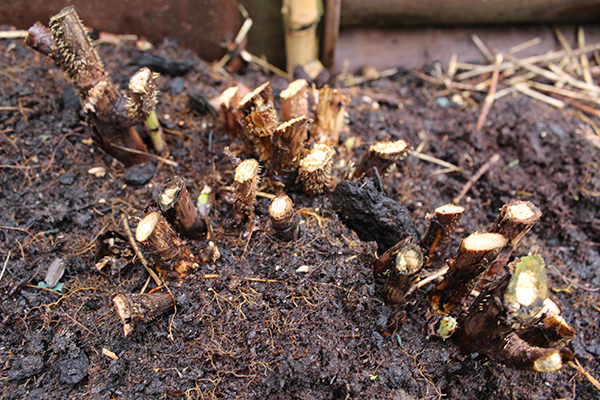
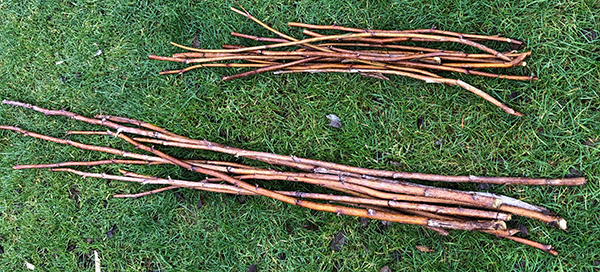
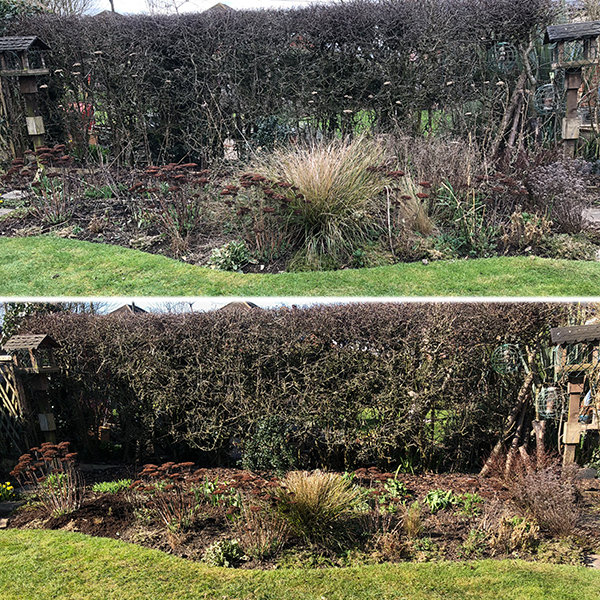
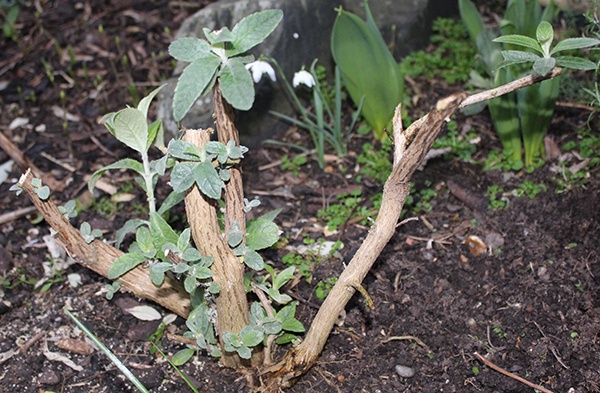
If your Mahonia has become bare at the base, you can give it a hard prune by cutting a third of the branches down to about 15 cm (6 inches) from ground level. It will look a bit sorry for itself for a while, but this will help to generate fresh growth from the base.

To make plants bushier, cut back branches by 30–50%, which will stimulate the production of side shoots.

Avoiding disease. In general, Mahonias remain pest and disease free. Powdery mildew and rust are potential problems though. To help avoid these, make sure you water at the base of the plant and not on the leaves, regularly remove dead leaves and material from around the plant, and prune out a few central branches to let air circulate through the plant. Remove any affected leaves as soon as the problem appears so that it does not spread to the rest of the plant.

Go get a Mahonia

In summary, a Mahonia will add winter colour and nectar to your garden, will grow pretty much anywhere, and will be relatively low maintenance. So, if you have the room, I highly recommend you go out and get a Mahonia.

When is the best time to tidy the spring garden?

When I was younger I remember my mum ‘putting the garden to bed’ at the end of each Autumn, clearing and chopping everything into neat low-cut order before the start of winter. We now know how beneficial it is to leave ‘winter structure’ in place throughout the coldest months.

Winter structure in the garden
The winter ‘structure’ has become a bit of a tangled mess!

Protective debris

Leaving the dead stems in place protects the crowns of perennials from severe frost damage and provides an important habitat for hibernating insects. Birds will feed on old seed heads and will use some of the winter debris as nesting material in early Spring, while hedgehogs will snuggle under large piles of leaves.

Restoring order

It’s great to leave that protective canopy in place for as long as possible, particularly while we continue to get regular frosts. But, let’s be honest, frosts or no frosts, there comes a time when we’ve had enough of the dishevelled look and want to restore some order to our borders. For me, that’s about now, in mid-March, when temperatures start to hover around double digits, and daffodils and hellebores are trying to find their way through the confusion.

So, I’ve started to chop down the old stems and seed heads…

Time to clear wintry debris

To reveal the fresh spring growth beneath…

Spring garden revealed

Early spring colour

Having cut down all the old stems (which will be shredded and added to the compost bin) in the border nearest the patio, I can now enjoy the daffodils and hellebores that are the stars of the show at this time of year.

Early spring plants
Newly revealed daffodils and hellebores

Cutting down the old stems is only the first step towards complete springtime transformation. Next, the border will need weeding (15 minutes at a time, of course), and in a few weeks time I will be able to start dividing plants and filling in any gaps.

Choosing the right time to tidy your garden

The right time to start tidying your garden this spring will depend on several factors, including:

  • where you live
  • the weather
  • the type of soil
  • when you have time to do it.

I live in the south of England, so mid-March is normally about the right time. Temperatures are starting to climb and although we still get frosts as late as May, they become less frequent. If you live further north you may prefer to wait until early to mid-April. Keep an eye on the weather forecast for your area and that will guide you. It’s looking promising here over the next few days!!

Wet clay soil is easily damaged when walked on, so I will have to wait a few more days before cutting back the perennials in the border that runs down the right-hand side of the garden. We have just had some very heavy rain and, as it can only be accessed by walking over the lawn, I would do more damage than good by repeatedly walking over, and compacting, the clay-based soil. I will have to be patient.

Meanwhile, there are plenty of other jobs to do in the garden this month.

How to prune autumn-fruiting raspberries

Despite the appalling weather, I managed to get out in the garden this week for one of my favourite 15-minute gardening tasks – chopping my Autumn Bliss autumn-fruiting raspberries down to the ground.

It’s hard to imagine that February is the perfect time of year for many gardening tasks, but this is definitely one of them. The plants are dormant at the moment, so a hard prune back to the ground during cold weather won’t damage them. Within a few weeks though they will be ready to shoot back into action, so now is the time to give them the chop.

Simply chop!

Autumn-fruiting raspberries are ‘primocanes’, which means they produce fruit on new wood. I have six Autumn bliss raspberry plants in a small bed near the bottom of the garden. When in leaf they provide a perfect screen in front of the shed.

All you need to do at this time of year is remove last year’s old growth.

Raspberry canes ready for cutting down
Last year’s autumn raspberry canes

Cut the old canes as close to the ground as you can, making sure your secateurs are sharp for a clean cut.

Chop autumn raspberries canes to the ground

Bonus leftovers

And the great thing is that the old raspberry canes can be put to use in the rest of the garden. I trim off the twiggy side branches and flimsier tips to make sturdy stakes that I then use to prop up my perennials.

Raspberry cane stakes

And the twiggy bits can be shredded and used as a mulch, so nothing goes to waste.

Twigs for shredding
Twigs for shredding

Autumn- vs summer-fruiting raspberries

Summer-fruiting raspberries are slightly more complicated in that they are ‘floricanes’, which means they fruit on the previous year’s wood. The old canes need to be removed after they have fruited to encourage new growth, as that’s what next year’s raspberries grow on.

Autumn harvest

Unlike their summer counterparts, autumn-fruiting raspberries are pretty much self-supporting, although I find they need a bit of string around them to stop them flopping forward over the bed. They start to ripen in late summer and, from just six plants, I get a good harvest that usually lasts all the way into October.

Autumn raspberries
Harvest the raspberries from late summer to first frosts

So, if you are new to raspberry growing, I highly recommend giving autumn-fruiting raspberries a go. It couldn’t be simpler.

February in the garden: prepare, plant and prune

February can be a frustrating month. I’m itching to clear away the winter debris but even here, in the South of England, heavy frosts and downpours (and even snow) are likely to prevent a major tidy-up for another month. My borders need their protective winter duvet of last year’s growth for just a little bit longer.

The Beast from the East in 2018 was a reminder to expect the unexpected in February

Yet, as the earliest signs of Spring begin to emerge, there are lots of things I can do to prepare my happy place for the gardening year ahead. Having been out of action for a little while, I’m excited. Here we go again!

Plan and prep

I love planning what flowers I want to surround myself with, what veg I want to eat and where it’s all going to grow.

It’s hard to imagine this…

Pretidy winter garden
February 2022

Becoming this…

June flower border 2021
June 2021

But last year it did!

The garden may not end up looking anything like the vision in my head right now, but it’s a lot of fun imagining what it could look like.

Get organized

On a more pragmatic note, it’s also worth being prepared for the frenzy of sowing and growing that is but a few weeks away. If you haven’t done so already, now is the time to check your seed packets and order in what you haven’t got, tidy your shed and wash your pots.

Organized seed packets
Check what seeds you’ve already got

You can also prepare your veg beds now by removing weeds and applying an organic mulch.

Vegetable bed mulched with garden compost
A well-mulched vegetable bed

Pruning

Many plants need to be pruned in winter when they are dormant. In my garden, this applies to the few roses that I have in pots and my apple and pear trees, and this year I’m going to have a go at some (hopefully) restorative winter pruning of honeysuckles that have become very woody.

Apple-tree-pruning
Prune apple trees in winter while they are dormant

Early sowings

February is also a good month to start sowing indoors. I’ll be getting tomatoes and aubergines started from seed this month, as well as the first of some successional sowings of lettuce, as I want to stop buying so much of it from the supermarket (it always comes wrapped in plastic!).

Indoor sowings
Last year’s indoor sowings of tomatoes, aubergines, chillis and lettuce

Bare-root planting

Winter is also the best time to plant bare-root trees and shrubs, so that they can get established before expending the energy they’ll need to produce leaves and flowers. Roses, fruit bushes and canes, hedging and dogwoods (Cornus) can all be started as bare-root plants. Last year I planted two bare-root climbing roses, which are now well established.

February checklist

It may all sound a bit daunting, but if you break it down into 15-minute tasks you’ll be surprised how much you can get done. I get a great sense of achievement from ticking things off a list, so I make a monthly checklist to help me stay on track. Take a look at my February checklist of gardening jobs, which can all be achieved 15 minutes at a time.

February-#15greenmins-checklist
February #15greenmins checklist: you can do anything for 15 minutes, including gardening!

Time for a spring clean

It’s that time of year when everything starts to change. We’ve certainly seen a bit of everything from the weather, including glorious sunshine and blue skies, cold frosty mornings and, currently, a double-barrelled storm of torrential rain and fierce winds. It’s a wonder our plants have any idea what to do, but our gardens march on regardless.

Mine started timidly flicking colour onto the canvas last week, unorganized bursts of random energy in an otherwise Jackson Pollock-esque tangle of winter debris.

Messy spring garden
Splashes of colour hidden among winter debris

Time for a tidy up

It spurred me into some much-needed spring cleaning, and over the past week I have gradually chopped and weeded away most of the vestiges of winter. After all, what is the point of planting spring bulbs if you fail to show off their cheery loveliness when they emerge.

Spring cleaned border
The same border after a thorough spring clean

Armed with a trowel and a pair of secateurs, I have worked my way around the main borders. Weeds in one bucket, anything shreddable in another.

Before and after

It has made such a difference – to the garden and my mood – as I now feel (despite the return of some gloomy weather) that Spring has finally arrived on my patch. Here are my before and afters.

Before and after garden border - weeding and chopping 01
Before and after garden border - weeding and chopping 02
Before and after garden border - weeding and chopping 03
Before and after garden border - weeding and chopping 04

When it comes to spring cleaning the house or the garden, I know where I’d rather be! There is nothing more satisfying. Happy spring gardening everyone.

Pruning Buddleja davidii

In stark contrast to my husband, who will happily take a hedge cutter to anything, I’m a bit of a wuss when it comes to pruning. I’m still a bit cautious with the secateurs on most shrubs, but there’s one plant that I know I can be brutal with: Buddleja davidii (the butterfly bush).

Autumnal Buddleja davidii
1 year of extensive growth

Buddleja (or Buddleia) davidii produces new growth on new wood, and will produce up to 3 metres of growth in 1 year. So, if you don’t cut it back each year you will end up with a very tall plant of old woody stems with straggly new growth on top.

Cut it back hard – now!

You can’t really over-prune it. It needs cutting back hard to about 1 foot from the ground in early Spring (now) – provided the weather is mild – before it starts producing new growth.

1. Trim back top growth with secateurs. This will make it easier to get to the lower stems near the base of the plant.

Pruned branch of Buddleja davidii
Prune back top stems of Buddleja davidii with secateurs

2. Cut back the thick woody stems near the bottom to 1–2 feet (30–60 cm) above the ground. You will probably need a pruning saw or lopper for this, as the stems will be pretty thick near the base of the plant.

Pruned Buddleja davidii
Cut back the woody stems near the base to about 1 foot from the ground

Try to keep an open framework of 5–6 main branches. Remove any crossing branches that will rub on other stems. The Buddleja in the photo above is only a couple of years old, so there aren’t too many stems yet, but the older it gets the more stems it will produce.

If your Buddleja is very congested around the base with old dead stems, remove them completely (either to the ground or cut them off flush to the stem).

Be brave, be brutal

It seems severe, but don’t be alarmed by the way your Buddleja looks. I promise it will regrow … a lot! In fact, you’ll be amazed how quickly it starts to produce new growth.

Buddleja fast regrowth
This Buddleja is about 6 years old and was chopped back in November last year. It’s already full of regrowth. I now know to reduce the number of stems next year and prune in early Spring (always learning!)

Prune the right Buddleja in the right way

One important note here. Make sure you are pruning Buddleja davidii in this way, and not Buddleja alternifolia or Buddleja globosa. Both of these Buddleja species produce new growth on old stems, so they should never be cut back hard in the way described above.

End-of-winter arrangement

I thought the upper stems were pretty, so instead of throwing them all away I created an end-of-winter flower arrangement. Combined with the winter stems of Sedum spectabile, it turned out to be quite striking.

Winter flower arrangement of Buddleja and Sedum
A striking arrangement using winter stems: Buddleja davidii and Sedum spectabile

Rainy day jobs

Us gardeners have a love–hate relationship with the rain. We moan when there is too little of it, we moan when there is too much of it. We want it to rain for the benefit of our plants, but only when it’s convenient for us. Right now, we don’t have a lot of say in the matter. It’s raining (a lot), so we have to make the best of it.

Wet-garden
The frustration of yet another rainy day.

Not that I’m complaining. In the South, we’ve come through Storm Ciara and Storm Dennis relatively unscathed. A few puddles here and there is nothing compared to the devastation some people are dealing with, and my heart goes out to all those affected by the floods.

So, although the lawn is too squelchy (love that word!) to walk on and the heavy clay soil in some of my borders has become unworkable, there is still plenty I can do. Here are my top 5 rainy day activities.

1. Feed the birds

Birds require high-energy foods right now; not only do they need it to keep warm, but they are also building up reserves ready for nesting and breeding.

We put out a scoop of no-mess bird seed on each of our 3 bird tables every morning, and top up in the afternoon when we can. And we keep the bird feeders filled with nuts and fat balls. (Note I say ‘we’. As his and her gardening tasks go, this one’s a shared one.)

Blue tits - Big Garden Birdwatch
Birds welcome a helping hand at this time of year, so don a cagoule and fill up those feeders.

2. Start sowing

If you’ve got a shed, garage or greenhouse to shelter in, now is the time to start sowing vegetables and slow-germinating annuals. The young plants can then be planted outside when the soil starts to warm up.

Waiting for germination - seed trays
Tomatoes, chillis, aubergines, kale, salvia and sweet peas can all be started indoors now.

3. Weeding and pruning

I wouldn’t advise working in the garden if gale force winds are hurling things around, but if you’re feeling game, put on your woolies and waterproofs and get out there. You can do everything you do in a T-shirt and trainers in a cagoule and wellies instead, particularly if you’re only out there for 15 minutes at a time. Just avoid walking on waterlogged lawns and borders – it won’t do them any good.

the right clothing for wet weather gardening
With the right clothing, you can still get out there.

There’s plenty of pre-Spring pruning to do and if your soil isn’t too much of a sticky mess then you may be able to tackle some weeding from a solid footing on paths or patios.

I’m fortunate to have a large patio to work from, and my raised vegetable beds are surrounded by bark chippings, so no excuses there. The borders next to the lawn will have to wait though.

4. Get organised

Rainy days are a great opportunity to get organised.

  • Tidy the shed
  • Sort seeds and plan sowings
  • Order seeds and plug plants
  • Take an inventory of supplies
  • Plan your 2020 garden
42 perennial plug plants by post
Order plug plants now – there are a lot of bargains online.

5. Clean and maintain tools and pots

It’s a dull job, but if you’re at a loose end on a rainy day, then you could spend 15 minutes cleaning pots and tools. Also check that your hand tools are in tip top condition for the gardening season ahead. Oil and sharpen secateurs and loppers, and check you’ve got cord for your strimmer. Don’t forget to service your lawn mower too.

Clean-pots
Cleaning pots: a dull job on a dull day, but essential to prevent the spread of diseases.

And after all that, nothing beats settling down with some good reading material and a cuppa and picking up some tips from the experts.

Reading-material-gardening
Ah, so that’s the way to do it!!

15 minutes and counting

It was grey, dull and chilly, and I was having one of those days when I didn’t feel like 5 minutes of green, let alone 15. But as I still hadn’t finished all the jobs on my March checklist, let alone started on April’s, I had to find a way to get myself motivated and out there. So I set myself a 15-minute challenge.

Chop raspberry canes to the ground early Spring

Tackling the garden 15 minutes at a time

Could I chop my raspberry canes down to the ground in 15 minutes?

Chopped raspberry canes

Use sharp secateurs to cut autumn-fruit raspberries down to ground level

It turns out I could. In fact, I’d finished chopping in 7 minutes, and had time to spare to weed.

Raspberry canes chopped and weeded in 15 minutes

Chopped and weeded in 15 minutes

Leaving me feeling just a little bit pleased with myself.

#15greenmins of chopping and weeding

#15greenmins of chopping and weeding

With a few natural raspberry cane stakes for use elsewhere in the garden, just for good measure.

Old raspberry canes make great natural stakes in the borders

Old raspberry canes make great natural stakes in the borders

Job done!

Late fruit tree pruning

The clocks have gone forward and it’s officially Spring, but you’d never know it given the current weather, and neither does my apple or pear tree! Both are in bud but neither has produced any leaves yet, so I figured I could get away with some late ‘winter’ pruning this week.

Apple tree in winter bud

‘Winter’ apple tree – lots of buds but no leaves yet

Conventional wisdom advises pruning when the tree is dormant, between leaf fall and bud burst (late November to early March), so I’m pushing it a bit, but better to do it now than not at all.

5 simple rules for pruning fruit trees

If you’re not used to it, pruning can be a scary concept, especially when you start reading terms such as renewal pruning and spur bearers, so I’ve condensed it down to 5 easy-to-remember rules.

  1. Remove any dead, damaged or diseased branches.
  2. Remove any branches that are crossing or rubbing against each other.
  3. Remove any branches that are heading for the centre of the tree.
  4. Shorten the previous year’s growth on each main branch by about a third.
  5. Remove any young lateral branches that are causing overcrowding.

Remove any crossing or rubbing branches

Remove any crossing or rubbing branches

Use a sharp pruning saw or secateurs and cut just above a bud that is facing in the required direction (ideally you want your tree to keep branching outwards to avoid congestion in the middle).

Above all, prune the tree to the size and shape that fits your garden. It’s no good having a heavy cropping apple tree if it casts a shade over everything else you want to grow. I’ve had to hack a fair bit off my pear tree this year, as it was getting top heavy and leaning over the drive. I probably won’t get as many pears, but people will be able to walk to the front door!

Follow up with a good mulch and wait for that wonderful explosion of blossom. It’s coming …. honest!!